





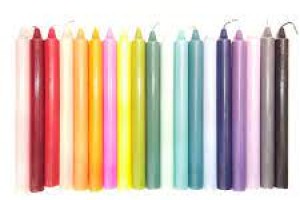

Create your own soy candles with imagination!
Ready to make your first soy wax candles? We are here for you!
In this beginner-friendly tutorial, you'll learn exactly how to make your own soy candles. We'll walk you through the entire process of making soy candles with this step-by-step guide, including adding color with dye and scenting with essential oils. You'll learn basic candle making skills - and two beautiful, handmade candles in soy containers.
We use natural soy wax for this project because it is:
An easy start to candle making. perfect for those trying out their candle making skills for the first time. a good choice for candle makers of all skill levels. We enjoy this type of candle because it offers a long burn time and is easy to clean with warm soapy water or rubbing alcohol.
See our list of all the materials needed for this project.
I can use essential oils to make these candles;
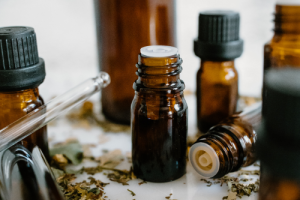
Yes! In addition to fragrance oils, you can also use candle-approved essential oils for these homemade soy candles. Check the suggested usage percentage on each essential oil product page and start with low percentages. Natural candles are made by combining plant-based candles (such as soy wax or beeswax) with essential oils.
Making scented candles at home will require a few items you probably already have in your home:
- A heat source to create a double bath (using a thermocarbonated pot placed in a pot of boiling water)
- Mixing boardς
- Napkins
- Isopropyl alcohol
- Scissors
- Step by step instructions:
- When making homemade candles, you'll need access to a flat surface like a counter or table. It is important that this space can be used for several hours while the candles dry and cool.
After preparing your workspace, gather your materials. It's time to get started!
Step 1: Melt the soy wax wipes Pour the 1 pound (16 oz or 454 gram) bag of Golden Brands 464 soy wax wipes into the overflow container. Heat the wax with a double bath or a hot plate.
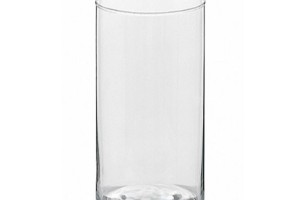
Pour the soy wax wipes into an overflow container. Melting soy wax wipes in a double bath. Step 2: Prepare the Candle Jars While your wax is melting, wipe the Straight Sided Tumbler jars with a small amount of isopropyl alcohol and a clean paper towel. This step ensures that each candle pot is ready for wick placement.
Clean the drum jar with cheery wall. Using a wick soldering iron, place a CD 18 cotton wick in each jar.
Placing a wick label on a wick with ribbon. Placing a wick in a jar with a cheery wall. Step 3: Adding Wax Color Block and Fragrance Oil to the Melted Wax After your wax is completely melted, add half of a Caribbean Blue color block to the wax and mix.
Note: The block must be broken in half, but the next easiest way to cut it is to use a knife and a cutting surface.
Hand holding a block of colored wax. Adding half a block to melted wax. Mix the color block into the wax.
Mixing the color block into melted wax. Once the color block is fully mixed, check the temperature of the wax with a thermometer. When the candle has reached 185°F (85°C), it's time to add the fragrance oil. Pour in the 1 ounce (28 gram) bottle of High Tide flavoring, about a 7% flavoring load. Stir gently for 2 minutes to make sure the oil is fully incorporated with the wax.
Pour scented oil into melted wax. Mixing the scented oil into melted wax. Expert advice! Check out these questions and answers to figure out how much flavoring you need and how much flavoring to use.
Step 4: Pour the wax into the prepared candle jar When the wax has cooled to 135°F (57.2°C), carefully pour the wax into the jars. Secure the wick with a wick bar.
Pour the melted wax into the drum jar. Allow the wax to cool completely and allow your candles to fully harden at room temperature.
Cut the wick of the completed candle. Listen to your music. You just made two soy candles! Our candles feature the Caribbean Blue color block and High Tide fragrance oil, but you can have fun customizing the scents and color pairings for your own candles - the options are endless!
This is a fun and simple DIY project that makes great gifts. With a little time and effort, candle making can become a rewarding hobby for years to come, or even a home.